How to Decorate Your Christmas Tree

If your ever-expanding collection of Christmas tree decorations gets bigger every year, join the club! There’s nothing quite as satisfying as snapping up new bits and pieces to adorn those festive branches. But when it’s time to get your Christmas decorating on, it can feel a tad overwhelming.
Where do you start? How do you resurrect a tree that’s been stuck up the loft for 11 long months? And what do you do when you’re staring at a sea of twiggy gaps? Fear not! We’ve got your back with this complete guide to decking out your tree, from top to trunk – with plenty of Christmas tree decor ideas to make your tree the talk of the town.
So, have your Christmas tree decorations at the ready, grab a mug of something festive, and let’s get the Christmas tree decorating party started!
Essentials for Christmas Tree Decorating
Before we dive into the step-by-step, let’s make sure you’ve got everything you need to create a tree that’ll make even the Grinch’s heart grow.
A Christmas Tree
Well, duh! First things first, you need a tree. Whether it’s real, artificial, small, or large, the choice is yours. For those opting for the real deal, consider picking a locally grown one to keep your environmental impact low. And when Christmas is over, make sure to recycle it responsibly – your tree’s journey doesn’t have to end at the landfill. Oh, and double-check it’ll stand up in your room before handing over your cash (we’ve seen many a tree cut down to size in our time).
Fairy Lights
Twinkling lights are the heart and soul of a Christmas tree. If you’re wondering how many you need for a truly magical effect, a good rule of thumb is one 10m strand of lights per foot. If you’re using mains-powered lights, remember to set your tree up near a socket. You really don’t want to finish your masterpiece only to have to shift it – and trust us, those baubles won’t appreciate the move!
Christmas Tree Decorations
Here’s where the fun really begins. Baubles, tinsel, ribbons, and those beloved homemade ornaments from the kids – when it comes to Christmas tree decorations, the more, the merrier! Gather your collection (adding any new hauls to the pile) and prepare to sparkle!
Tree Topper
No Christmas tree is complete without its crowning glory. Whether it’s a star, an angel, or something a bit more personal, your tree topper is the icing on the Christmas cake of your festive creation. Oh, and if you’re struggling with the dreaded wobble (when your angel simply won’t keep its balance), bung in a bit of cotton wool to pad out any offending gaps.
Christmas Tree Skirt (Optional)
You might have a wondrously decorative bottom, but if you’d prefer not to see the stand or pot at the base of your tree, consider a decorative tree skirt. Or you could simply wrap some festive fabric around it (a natural hessian or cosy tartan fabric can do wonders). Alternatively, if you’ve already got a few presents wrapped and ready, stack them around the base – nothing says “Christmas” like a pile of presents!

Christmas Tree Decorating: A Step-by-Step Guide
Now that you’re armed with everything you need, it’s time to transform those bare branches into a festive masterpiece. Follow these steps, and your tree will be the star of the show – quite literally!
1.Choose the Perfect Spot for Your Tree
Location, location, location! Deciding where to place your Christmas tree is crucial. Make sure it has enough space to shine, and don’t forget about accessibility – those lights need to be turned on and off, after all! If you’ve got a real tree, ensure it’s snug and secure in its stand to avoid an unexpected tumble.
2. Gather and Sort according to Your Christmas Tree Décor Style
If you’re going for a specific colour scheme, it helps to group your Christmas tree decorations by colour and style – especially if you have more than one Christmas tree. Or if you’re embracing a more eclectic, freestyle approach, just dive in and start pulling out your favourites.
3. Fluff Those Branches
Yes, we said fluff! If you’re working with an artificial tree, those branches will need a little TLC after spending months squashed in a box. Gently separate and shape each branch to give your tree a fuller, more natural appearance. For real trees, a light touch is all that’s needed to arrange the branches – being careful not to shed too many needles!
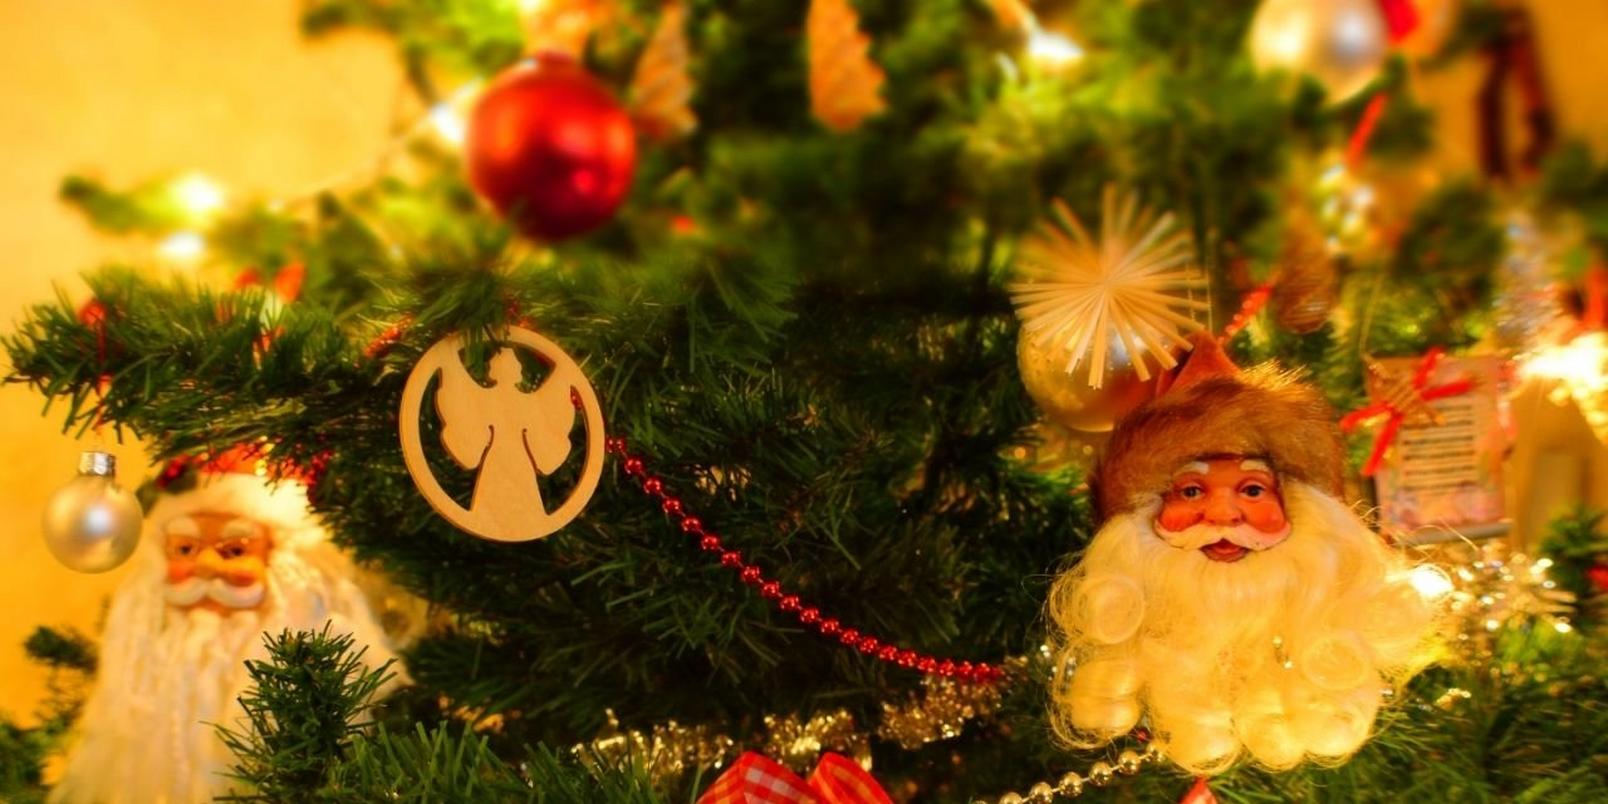
4. Light It Up!
Now the magic really begins. The first thing to go on should always be your lights in case they need spacing and tweaking once up. To get that perfect glow, you’ve got two options: you can either wrap them around the tree from top to bottom, or drape them back and forth across the front. If your tree is a focal point in the room and visible from all sides, you’ll want to go all the way around. For trees nestled in corners, you can save a bit of time and length by focusing only on the visible areas.
Pro-tip: Always keep the lights on while you’re placing them. It’s much easier to see where the gaps are, and you’ll avoid the dreaded tangled-light fiasco.
5. Time for Tinsel (or Beads!)
Next up: the tinsel. Or perhaps you’re more of a beaded garland person? Either way, the process is the same. Drape these long decorations around your tree, aiming for gentle loops that hang between branches. This step is all about creating a sense of fullness and adding a touch of sparkle.
6. Bring on the Baubles
Start with your largest baubles first – think of these as the anchor pieces of your Christmas tree decor. Place them evenly across the tree, with more concentration towards the bottom. Then, work your way up with medium and small-sized baubles. Aim for a balanced look with evenly spaced ornaments rather than clusters. And don’t be afraid to step back every now and then to check your progress from different angles.

7.Highlight with Special Ornaments
Now it’s time to give those extra special ornaments their moment in the spotlight. Whether it’s a beloved family heirloom, a DIY project from years gone by, or that new statement piece you couldn’t resist buying, these are the decorations that add personality to your tree. Place them in prime position where they can be admired by all.
Looking to add a few more unique touches this year? Check out our guide to DIY Christmas tree decorations for some inspiration.
8.Fill in Any Gaps
Take a step back and give your tree the once-over. Are any branches looking a little bare? Use your smaller baubles or extra tinsel to fill the gaps. And remember, it’s okay if a bit of greenery shows through – sometimes less really is more when it comes to Christmas tree decor.

More Christmas Decorating Inspiration
Feeling the festive spirit yet? If you’re all about making your home a winter wonderland, we’ve got plenty more Christmas tree decor ideas and seasonal tips to keep the magic going. Here are a few of our favourites:
And remember, if you’d like to bring some floral festive flair into your home, our expert florists are here to help. From winter wreaths to Christmas flowers and fabulous festive plants, we’ll deliver a touch of magic right to your door.

